If you’ve ever opened a vacuum pump only to find worn vanes, corroded rotors, or oil sludge clogging the works, you know the cost of cutting corners. Building pumps that last isn’t about flashy tech. It’s about solving invisible problems like thermal stress, material fatigue, and micron-scale leaks before they reach the field. Here’s how top manufacturers do it.
Phase 1: Designing for Tough Conditions
Most pump failures trace back to overlooked design flaws.
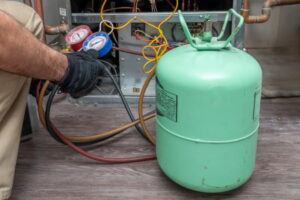
Problem 1: Oil Contamination
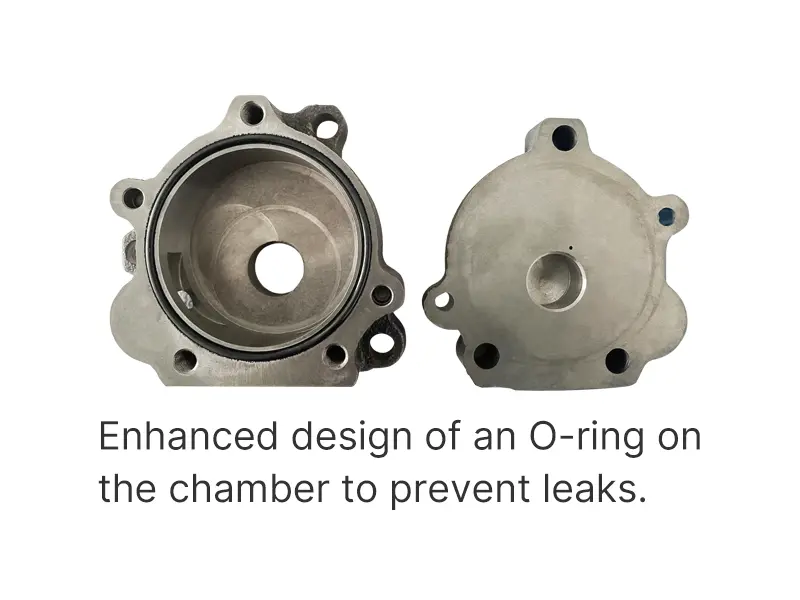
Cheap pumps leak oil into vacuum lines because of weak shaft seals and poor venturi design. Fix it by:Using dual-lip seals with spring reinforcement
Widening gas ballast channels to 8 mm minimum
Adding anti-suckback valves to block reverse flow
Problem 2: Altitude-Induced Failure
A pump rated for 100 mbar at sea level loses 35% efficiency at 1,500 meters. Always overspecify by 20% for high-altitude regions.
Phase 2: Material Tests That Prevent Early Death
Supplier certificates don’t guarantee quality.
The Carbon Vane Test Most Skip
Soak vanes in dyed oil for 24 hours. Weight gain over 2% means excessive porosity.
Reject vanes with density below 1.7 g/cm³—they shatter under 10,000 RPM.
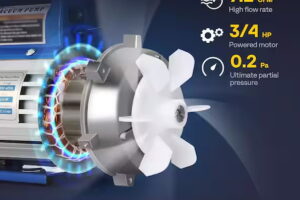
Motor Windings That Outlast Power Surges
Standard Class F insulation fails with voltage spikes. Upgrade to 200% phase-to-phase insulation.
Epoxy-encapsulated stators prevent humidity damage in tropical climates.
Phase 3: Machining Secrets for Precision
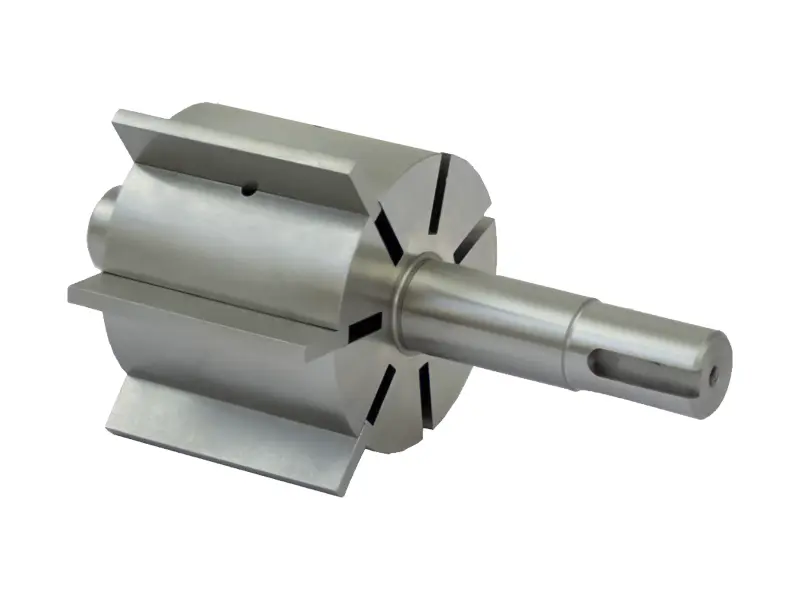
Rotor-Stator Gap Control
Ideal gap: 0.03–0.05 mm (maintained via cryogenic tempering)
Deviations cause:
Seizures (gaps under 0.02 mm)
Efficiency drops (gaps over 0.08 mm)
Surface Finish Tricks
Rotor journals polished to 0.2 μm roughness reduce friction by 18%.
Laser-hardened stator bores resist micro-scoring from abrasive vanes.
Tooling Tip: Cubic boron nitride grinding wheels last 10x longer than standard alumina for vane machining.
Phase 4: Assembly Errors That Kill Pumps
Torque Sequencing
Tighten housing bolts in a star pattern at 35 Nm ±5%. Over-torquing warps sealing surfaces.
Oil Priming Protocol
Fill with ISO 100 oil, then cycle the pump at 20% vacuum for 5 minutes. Flushes debris from oil galleries.
Phase 5: Testing Beyond the Brochure
The 4-Hour Torture Test
Alternate between 5 minutes at full load and 5 minutes idle. Exposes:
Bearing misalignment (audible chatter)
Oil foaming (wrong viscosity or additives)
Simulated Field Validation
Connect to 5 meters of hose and a dummy chamber. Pass criteria: Reaches 75 microns within 8 minutes.
Phase 6: Catching Microscopic Flaws
Helium Leak Detection
Spray helium on seals during operation. Mass spectrometers detect leaks as small as 1×10⁻⁶ mbar·L/s.
Vibration Analysis
Baseline vibration under 4.5 mm/s RMS. Spikes above 7 mm/s indicate unbalanced rotors.
By adopting these six steps, you’re not just building better pumps. You’re eliminating callbacks, protecting your reputation, and saving technicians from the nightmare of mid-job failures. In the end, durability isn’t an accident. It’s a checklist.
- Coolink: TOP 3 Global HVAC Vacuum Pump Manufacturer
- Elitevak: Quality Industrial Vacuum Pump Supplier from China